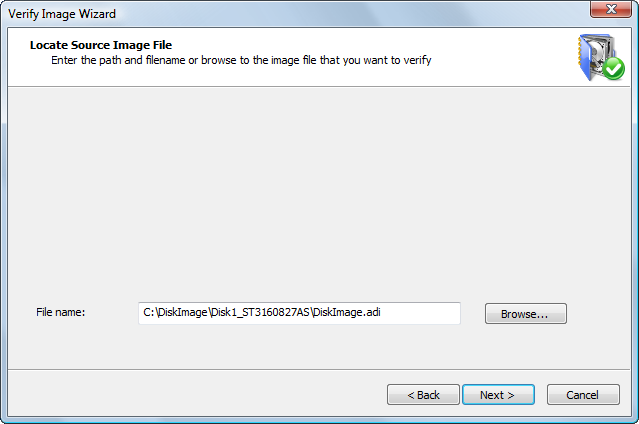
Specify the name of the archive that you want to verify.

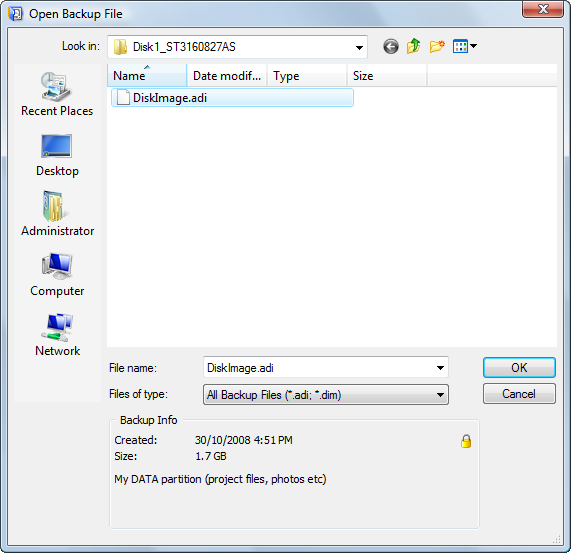
You may enter a new image name into the File name field or use the Browse. . . button to select an image location in the Open Backup File dialog box. If you use the Browse button, you may view details of the archive file like date, size and description without going further.

The Open Backup File dialog box shows supported image files (having extensions .ADI and .DIM).
When you select a disk image file, details of the selected file appear in the Backup Info area at the bottom of the dialog box. Details include image creation date and time, data size and the image description that you entered when you created the image. If the image is password protected, a small lock icon appears in the top-right corner of the Backup Info area.
Click OK to return to the Backup Selection screen. The selected image name appears in the File name box.
When a Backup Disk Image is split into several files, the image description is placed into the last file of the archive.
If all files are located in the same folder, you can select any file of the image. The application will automatically locate the last file of the archive and read backup information. If the last file cannot be found, the message in the Backup Info area indicates that the file is not the last file of multi-file archive. . . . Locate the last archive file and select it to open the image.
You don't need to have all files in one place in order to start verifying the image. As each archive file location is required, the application requests a path to the file.